Service
Gutter Repair Service
Leaking seams and corners stripped, resealed and tested, with an itemized price agreed first.
See prices and detailsEvery seam, corner and end cap on a sectional system depends on one thin line of compound. Pick the right type for the joint, prep the metal well, and that line holds for years.
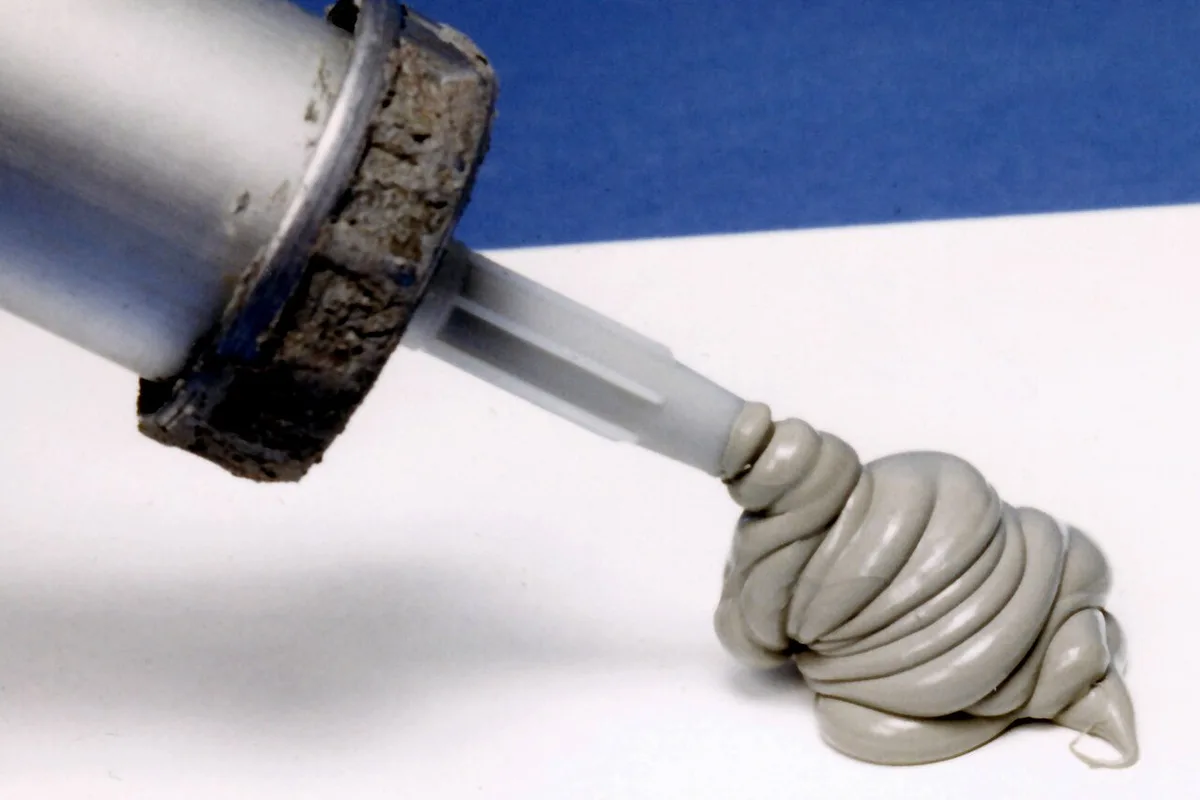
Photo: Caulking by Achim Hering, via Wikimedia Commons, CC BY 3.0.
Walk a street after rain and you will see the same wet mark under the same corner on house after house. The metal is rarely at fault. The thin line of gutter sealant inside that corner has dried, cracked or peeled, and water has found the gap. Choosing the right compound for each joint, and laying it on clean metal, is a small skill that decides whether a system drips or stays dry.
The right choice depends on the joint. Butyl rubber suits seams and end caps because it stays flexible and sticks to clean metal. Silicone suits small gaps but resists paint. Tripolymer suits corners and miters well. Clean, dry metal and a thin bead matter more than the brand on the tube.
Three families cover almost every joint on a house. Butyl rubber is the old workhorse for seams between sections and for end caps. It stays soft and flexible instead of hardening, so it moves with the metal as seasons change, and it bonds well to aluminum and galvanized steel. Its weakness is mess: it strings and smears, and it needs care to lay neatly.
Silicone is the product most owners reach for first, because every hardware store stocks it. It seals small gaps and outlet joints well and shrugs off water once cured. Its limits are real, though. Paint will not stick to it, it bonds poorly over old compound of any kind, and some formulas are not rated for constant standing water in a channel floor.
Words on tubes cause confusion. Gutter caulk, sealer and seam sealant are often the same families above under different shelf names. Read the base compound on the label, butyl, silicone or tripolymer, and ignore the front of tube claims. The base tells you how the bead will age.
Seams between sections sit in the channel floor, under moving water, and flex as the run heats and cools. That is butyl and tripolymer ground. Corners and miters collect grit and hold water longest, so they want the most flexible bead you can lay, pressed well into the corner angle. End caps fail at the rim, where a thin, neat fillet on the inside face does the work.
Every type fails the same way when the joint itself is loose. Sealant is a gasket, not a clamp. A miter that rocks because its screws have stripped, or a lap that gaps when the run moves, will tear any bead in time. Tighten or refix the joint first, then seal it. Owners who skip that order reseal the same corner every spring and blame the tube.
Old compound is the other quiet cause of failure. New product laid over cracked old product bonds to the old layer, not to the metal, and peels away with it. A lasting job starts with the old line fully scraped and brushed out, however dull that step feels on a ladder.
Prep is most of the job. Open the joint if you can, scrape out every trace of old compound with a putty knife or screwdriver tip, then wire brush the metal bright on both faces of the lap. Wash out grit, wipe the joint dry, and let it dry fully. A joint that looks clean but carries a film of algae or dust will shed its bead within a year.
Work on a dry day with no rain due before the bead has cured as the tube directs. Keep the tube tip cut small, closer to a pencil line than a rope, because excess compound in a channel floor catches grit and slows the flow. Have a rag and a bucket at the ladder top before you start, not after the first smear lands on the siding.
If the leak sits at a seam, corner or end cap and you want the whole repair in order, from finding the true start of the drip to testing the finished joint, our guide to how to fix leaking gutters and seal seams walks through the full task step by step.
Lay the bead inside the joint, where the laps meet, not smeared over the outside face. Run a steady line along the seam, then tool it once with a wet fingertip or the back of a plastic spoon, pressing compound into the gap and leaving a smooth, shallow fillet. One pass is enough. Reworking a bead drags it thin in spots and folds air into it.
For end caps, seal the inside rim all the way around, paying care to the two bottom corners where caps usually weep first. For outlets, seal around the flange where it meets the channel floor. Then leave the joint alone for the full cure time on the tube, and keep water out of it while it sets, even if that means waiting out a forecast shower.
Test before you put the ladder away for the season, once the bead has cured. Run a hose into the channel above the joint and watch the underside for a full minute. A dry underside means the job is done. A slow bead of water means the gap was deeper than the compound reached, and a second thin pass now is far easier than a return trip in the fall.
One leaking corner resealed during a visit is a small job. A whole house of tired seams, stripped out and resealed joint by joint, sits within the normal repair range of $100 to $450 per job, moving with height, the number of joints, and whether any loose miters or caps need refixing before sealing. Height and access drive the price more than the tubes of compound do.
Treat a published range as a planning guide only. The actual price for your home is decided after the system is looked over, and it should reach you as an itemized written quote fixed before work starts. Our gutter repair service page explains what a repair visit covers and how that written price is built.
For owners sealing their own joints, the saving is real and the risk is mostly ladder risk. One story work with a helper footing the ladder is a fair weekend job. Two and three story corners, steep ground and joints above a roof surface below are where a crew earns its fee, in safe access as much as in a neat bead.
Leaking seams and corners stripped, resealed and tested, with an itemized price agreed first.
See prices and detailsEvery piece of the system named in order, from end caps and miters to outlets and elbows.
Read the guideThe brackets and straps that carry the run, and the spacing that keeps it straight.
Read the guideRigid, flexible and folding options that move discharge water clear of the house.
Read the guideBrowse every guide on the Gutter Cleaning HQ blog, grouped by topic.
Most products bond poorly to wet metal, and a bead laid over standing water usually peels within a season. Wait for a dry spell, then dry the joint with a cloth and let it sit in the sun if you can. A few butyl products tolerate slight damp, but dry metal is the safe rule for every type.
Inside, almost always. A bead inside the channel sits under the water flow and is pressed into the joint by the lap of the metal. A bead smeared on the outside face weathers fast, looks rough, and peels at the edges. The one outside exception is a neat fillet on some corner joints, laid after the inside is sealed.
Over butyl and tripolymer, yes, once the bead has cured as the tube directs. Over plain silicone, paint will not stick well and tends to wrinkle and flake. If the joint will be painted to match the channel, pick a paintable product at the start rather than fighting the finish later.
The usual causes are old sealant left under the new bead, metal that was dirty or damp on the day, or a bead laid too thick so it skinned over and never bonded through. Movement at a loose joint can also tear a fresh bead. Strip back to clean metal and fix any looseness first, then reseal.
A reseal is a small job done once and done well. Send a photo of the joint and we will quote it in writing before any work starts.
Call +1 (888) 295-0648