Service
Gutter Repair Service
Leaks traced, joints rebuilt and sections replaced by a local crew, priced in writing first.
See prices and detailsMost drips start at a joint, and most joint repairs fail for one simple reason. The dry, clean, inside seal method.
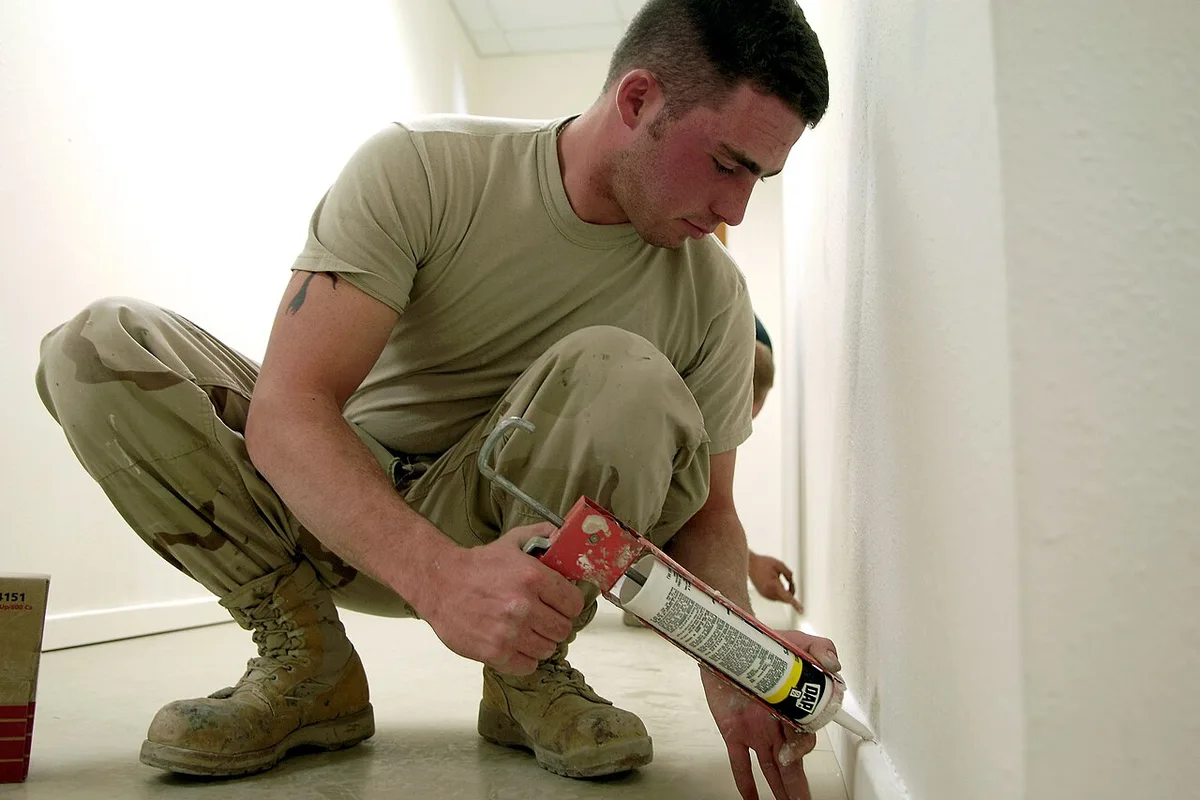
Most gutter leaks are joint leaks, and joints can be resealed well at home. Knowing how to fix leaking gutters comes down to three habits: find the true start of the drip, get the joint clean and bone dry, and lay the right sealant on the inside of the channel where the water actually runs. Skip any one of the three and the drip is back by the next season, which is why so many owners think sealing never works.
To seal a leaking joint, empty and dry the channel, scrape out the old sealant, clean the metal with a wire brush and solvent wipe, then lay a bead of gutter sealant inside the joint and tool it flat. Let it cure a full day, then test with a hose.
Sectional systems join every 10 feet or so, and each slip joint is a future leak if it was sealed in a hurry. The fix for how to fix a leaky gutter at a seam is always the same sequence. Take the joint apart if it will come apart, or open it enough to clean inside. Pull out every trace of the old bead, since new sealant bonds poorly to old sealant. Wire brush the metal bright, wipe it with denatured alcohol, and let it dry in the sun or with a heat gun on low.
Lay a steady bead along the inside of the joint, press the parts together if they were separated, then tool the bead flat with a wet finger or a plastic spoon so it feathers onto the metal on both sides. A rounded rope of sealant sitting on top of the joint peels. A thin, pressed film sticks. The same method answers how to seal gutter seams anywhere in the system: clean, dry, bead inside, tool flat, cure, test.
Corners leak more than straight seams because two runs meet at an angle and the miter piece has two joints instead of one, plus the corner takes the impact of water turning the bend. Reseal both faces of the miter the same way as a seam, and check the screws or rivets: a loose corner shifts a fraction with every temperature swing and works any bead loose. End caps are simpler. The cap seals around its edge, and a drip there usually means the factory bead has cracked with age. Scrape it out, run a fresh bead around the cap rim, and press the cap home.
Before you seal anything, it pays to know why the joint opened. A joint under standing water, a run that sags, or a downspout that backs up will defeat fresh sealant. Our diagnosis guide to leak causes and start points walks through tracing a drip back to its real source, which is often a few feet from where the water lands.
Not every tube on the shelf belongs in a gutter. The joint lives underwater at times, bakes in summer sun, and flexes as the metal expands and contracts. Products made for gutters, butyl rubber and tripolymer blends, stay flexible and sticky through that cycle. Standard bathroom silicone is the common wrong pick: it skins fast, bonds weakly to weathered aluminum, and peels in sheets within a year or two.
For a full comparison of butyl, silicone and tripolymer products, shelf life and working times, see our guide to gutter sealant choices before you shop.
How to repair leaky gutters changes when the leak is in the metal itself rather than a joint. A pinhole from a rust spot can be sanded to bright metal, primed, and covered with a small patch of sealant and metal flashing tape pressed flat. A screw hole left by an old spike hanger seals the same way once the spike is replaced by a hidden hanger. What cannot be sealed is a channel bottom rusted thin over a long stretch: the metal flexes, the patch cracks, and each repair buys less time than the last. That section gets cut out and replaced, and on an old system that finding often starts the wider repair or replace conversation.
After the full cure time, test every repaired joint with a hose run at a steady flow, and watch from below with a flashlight if the light is poor. A sound joint shows no bead of water forming underneath. Mark any joint that still weeps, let it dry, and reseal it once more with the same clean and dry care. Two rounds of this fix the great majority of home systems.
When the count of bad joints is high, or the ladder work is more than you want, a professional repair typically runs $100 to $450 per job. Read that range as a guide only: the firm price for your home follows a measure and inspection, and arrives as an itemized written quote fixed before work starts. If the list of faults keeps growing during that inspection, a gutter repair service visit can reseal, rehang and replace sections in one trip, and tell you plainly if the system has reached the point where replacement is the cheaper road.
Leaks traced, joints rebuilt and sections replaced by a local crew, priced in writing first.
See prices and detailsClear the downspout first, since a backed up line can push water out of sound joints.
Read the guideA joint under standing water fails early, so check the slope while the system is apart.
Read the guideOnce the drips stop, refresh the finish with prep that keeps new paint bonded for years.
Read the guideBrowse every guide on the Gutter Cleaning HQ blog, grouped by topic.
The usual causes are sealant laid over a damp or dirty joint, the wrong product for metal that moves, or a joint that shifts because a nearby hanger is loose. Strip the failed bead out fully, dry and clean the metal, refit any loose hanger, then reseal. New sealant over old failed sealant rarely holds.
Outside only sealing is a short term patch. Water sits inside the channel against the joint, so the working seal belongs on the inside where the water is. An inside bead, pressed flat and tooled smooth, is the repair that lasts through seasons of heat and freeze.
A small pinhole can be sealed after the rust around it is sanded away and the metal is primed. A rusted through stretch along the channel bottom is different: the metal is done there, and that section should be cut out and replaced rather than patched again.
Follow the cure time on the tube. Most products skin over within an hour but need a full day to cure before they sit in water. Plan the job for a dry stretch, and test gently with a hose after the cure window rather than trusting the next storm to test it.
Get a repair visit with every leak photographed, explained in plain words, and priced as one written quote before any work starts.
Call +1 (888) 295-0648